•Dalton Walsh
Build or buy safe dog agility equipment for a UK garden: DIY jumps, tunnels, weave poles, starter set prices and what to avoid at home.
By Dalton Walsh
If you are searching for dog agility equipment for a UK garden, you are probably choosing between a starter set, a cheap tunnel and a few DIY jumps. You do not need a full competition course to start. You need safe beginner kit that fits the space you have.
The best home setup is simple: two low jumps, a fabric tunnel, six weave poles and a small target or platform. Buy the tunnel if you want convenience, then make the jumps and weave poles yourself if you want to keep the cost down. Even a small UK garden works for the basics.
Expect about £30 to £50 for a DIY garden agility setup, or £80 to £200 for a pre-made starter set from brands such as PawHut, Gor Pets or Zooplus. Save the expensive contact equipment for club training: seesaws, dog walks and A-frames are not worth the home injury risk.
I started agility in my back garden because my local class was full and I didn't want to wait six months with a dog that was already bouncing off the furniture. What I found was that ten minutes a day at home was more useful than an hour in a class.
No distractions from other dogs. No pressure. You stop when your dog is still having fun, not because the hour is up. And you can work on specific things your dog finds hard without boring the rest of the class. The Royal Kennel Club also recommends short, regular practice over long, infrequent classes for building skills.
Garden agility training also builds your handling skills. You learn how to position your body, where to stand, how to time your cues. Those fundamentals transfer to every dog sport, including flyball. When my dog started doing proper tight turns over jumps, her box turn got sharper too. The two feed into each other.
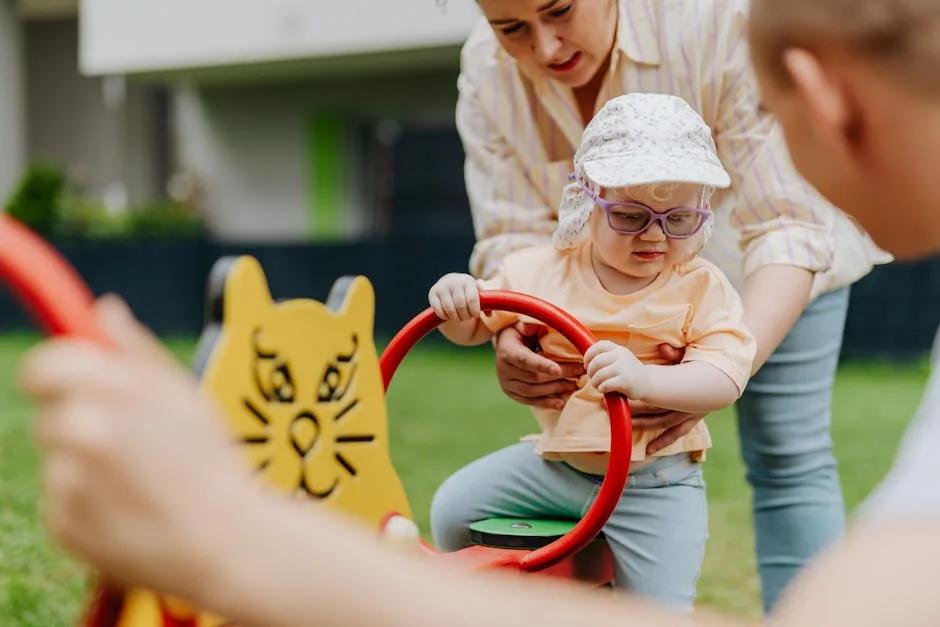
For a beginner garden agility course, start with four things: jumps, a tunnel, weave poles and a target or platform. That matches what most shoppers mean by dog agility equipment for gardens, without filling the shed with kit your dog is not ready to use.
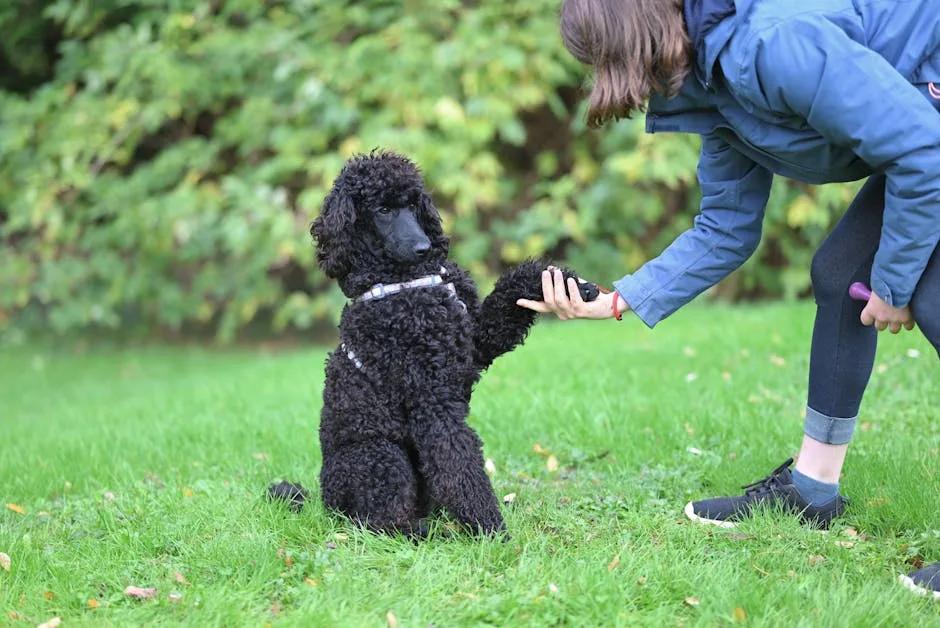
Jumps. These are the foundation. You need two uprights and a bar. That's it. No wings, no spread, no filler. Just something your dog can jump over.
A tunnel. A collapsed fabric tunnel is the cheapest piece of enthusiasm-building equipment you can buy. Every dog that goes through one comes out looking pleased with itself.
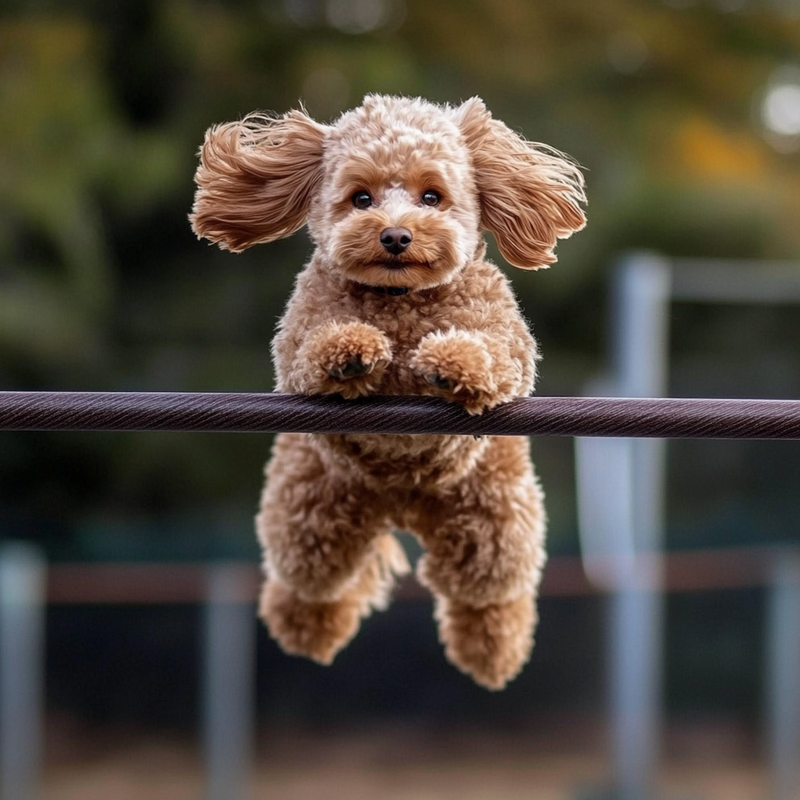
Weave poles. This is the thing most beginners worry about. Six poles in the ground is enough to start. You don't need a competition set of twelve. You don't need 2x2 training poles or channel weaves unless you want them.
A target or platform. For teaching stops, contacts, and position work. An old piece of plywood on a couple of bricks does the job.
You do not need a seesaw. You do not need a dog walk. Those are competition obstacles that require proper technique, safety checks, and usually a bigger garden than yours. Leave them for when you're training with a club that has the right setup.
DIY jumps cost about £5 each if you have basic tools. Here's what works.
The uprights. Two long stakes or canes, about three feet tall. Hammer them into the ground about three feet apart. Make sure they're straight.
The bar. A broom handle, a piece of PVC pipe, or anything rigid and light. Rest it across the tops of the uprights.
The method. Set it low at first, below your dog's elbow. Let them walk over it. Click and treat, or throw a toy. Gradually raise the height as they get confident. Never force them over it.
Making it better. Add small cups or notches to the uprights so the bar sits at a specific height. This stops it rolling off. You can cut V-shapes into the tops of thicker canes with a saw. Or use tent pegs with a loop to hold the bar.
Safety notes. The bar must fall off easily if your dog hits it. A rigidly fixed bar can injure a shoulder or back. Always make jumps displaceable: resting on, not fixed to, the uprights.
A fabric play tunnel for garden agility equipment from somewhere like Argos or Amazon costs around £15 to £25. Get one at least six feet long. Shorter ones aren't worth it.
Start with the tunnel fully open and straight. Hold one end and have someone call your dog from the other side, or throw a ball through it. Most dogs go through immediately. Some need you to walk through first.
Once they're confident, bend it into a gentle curve. Then a tighter curve. Eventually an S-shape. Each change adds complexity without needing new equipment.
Storage. Fabric tunnels fold small and live in a shed or under a bed. Unlike PVC tunnels, they don't take up your whole garage.
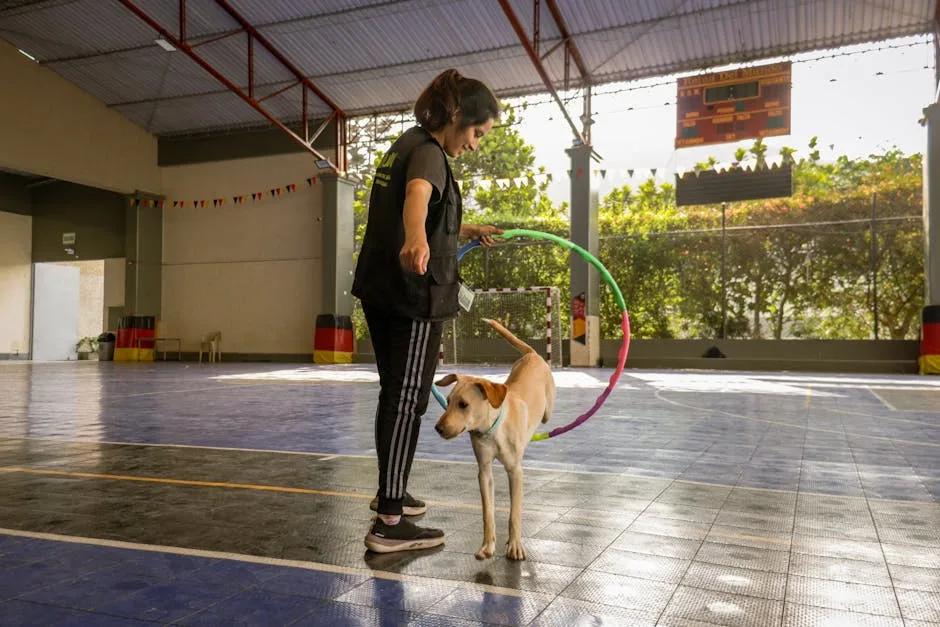
Competition weave poles are a specific distance apart, at a specific angle, and they look intimidating. But teaching garden agility weave starts with just two poles.
Method one: stick in the ground. Ten or twelve garden canes from a garden centre, spaced about 60 centimetres apart in a straight line. That's a basic weave set. Cost: under £10.
Method two: the two-by-two method. Set up two poles, lure your dog through, reward. Then add a second pair at an angle. Then a third. This is the way most UK agility trainers teach it now. Search for "2x2 weave training" if you want videos.
Spacing. Start with poles about 70 centimetres apart. Wider is easier. Narrow gradually as your dog gets the idea. Competition spacing is 60 centimetres, but that takes months to reach.
Height. Poles should be tall enough that your dog can't jump over the top of them easily. About two feet is fine for most breeds.
Contact obstacles (dog walk, seesaw, A-frame) are the ones that cause injuries when done wrong. They're also the things that don't fit in most gardens.
My advice is simple: don't build contact equipment at home. Wait until you're training with a proper club that has competition-grade obstacles with safe surfaces, stable construction, and a trainer who can teach your dog the right foot placement.
You can practice contact behaviour using a plank on the ground and a target. Teach your dog to put two feet on the target at the end of the plank. That's the behaviour they'll need on a full dog walk. You don't need the height to train the concept.
Here's what you can expect to pay for garden agility equipment in the UK.
DIY kit (jumps, poles, tunnel): £30 to £50 total
Pre-made sets: £80 to £200
Individual competition-grade obstacles: £100 to £400 each
You don't need to build a full course straight away. Start with one jump. Then add a second jump in a straight line. Then a tunnel. Build gradually.
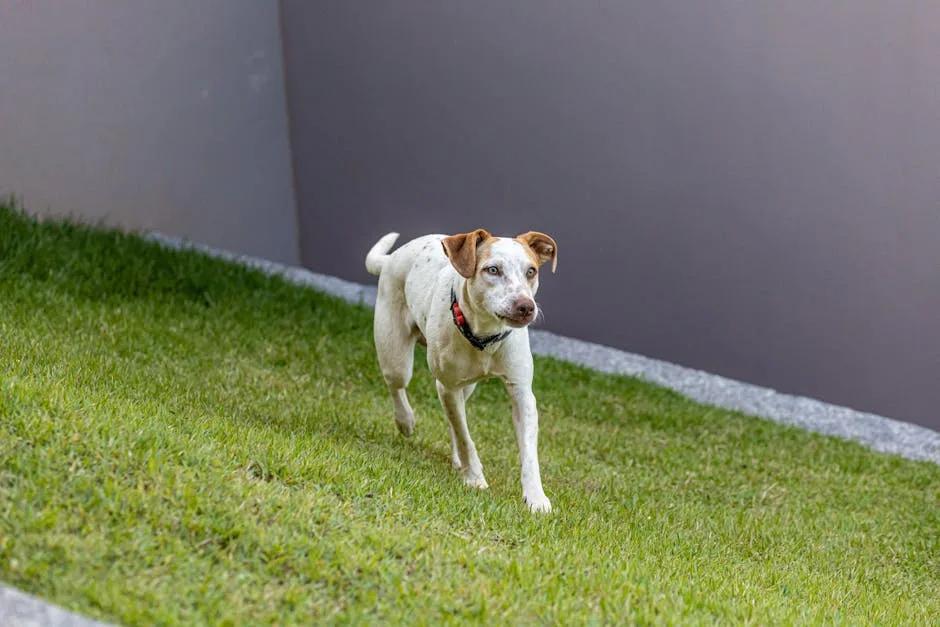
Space needed. A single jump needs about six square feet. A mini course with three jumps and a tunnel fits in most UK back gardens. Even a narrow side return has enough room for a straight line of jumps.
Surface. Grass is ideal. Concrete is too hard for repeated jumping. Astro turf works but can be slippery when wet. If you only have a patio, get a couple of rubber gym mats to put under the landing areas.
Flow. Arrange obstacles so your dog runs in a figure of eight or a gentle loop. Straight lines are boring and build speed without building handling skills. Curves and turns teach you both how to work together.
Weather. Don't train in the heat of the day. Dogs overheat quickly and don't show it until it's serious. Early morning or evening is better. Bring water. Take breaks.
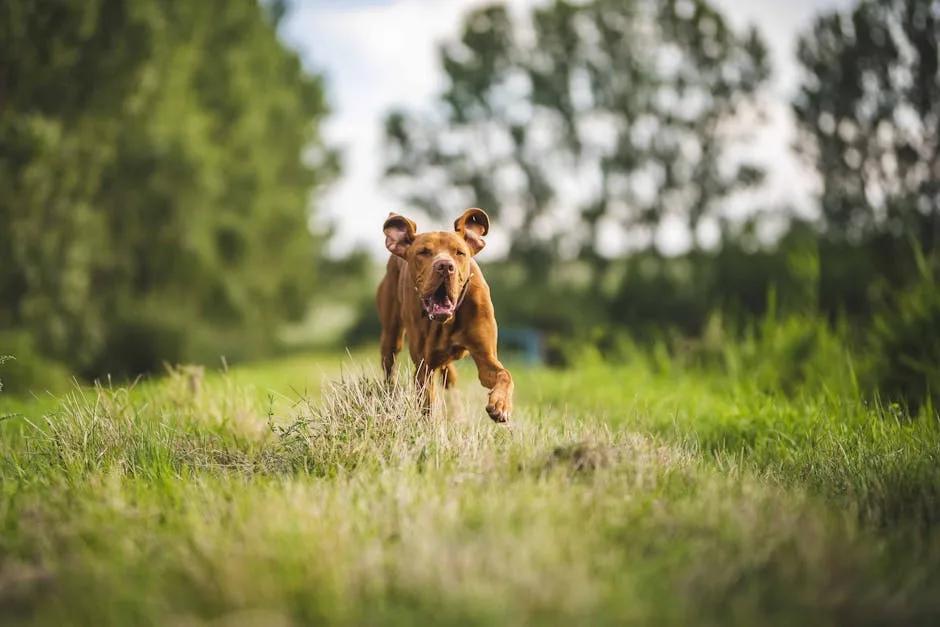
Agility training makes your dog a better flyball dog. That's not just something people say. It's visible every time.
Jumping properly in agility teaches dogs to use their hind legs and keep their back straight. That same body awareness makes box turns sharper and safer. The weave poles build lateral flexibility that helps dogs change direction in the flyball lane.
Recalls over jumps in agility reinforce the idea that coming back to you is fun and rewarding. That's half the battle in flyball. If your dog is dragging back from the box like it's a chore, some agility enthusiasm work can fix it.
Even the handling skills transfer. In agility you learn to cue direction changes with your body position and arm signals. In flyball you need to be in the right place at the right time so your dog can see your recall cue. Good flyball gear like tug toys and harnesses helps here too. The spatial awareness is the same.
The most common mistake in garden agility is doing too much. Ten minutes is plenty. Two or three repeats of an obstacle is enough. Then stop while your dog still wants more.
If you notice any of these, you've gone too long:
End on a success. If your dog just nailed a jump, stop there. Don't push for one more. That last good rep is what they remember. That's what builds enthusiasm.
Check equipment before every session. Canes snap. Tunnels get holes. Bars fall off and roll somewhere annoying. A two-minute walk around your course prevents accidents. Good flyball equipment follows the same principle.
Never jump a dog that's tired, injured, or under two years old. Growth plates close at different times depending on the breed. Large breeds need longer. If you're unsure, ask your vet.
Always warm up. Five minutes of walking and gentle play before any jumping. Cool down with a walk afterwards. This is basic but often skipped, and it's where injuries happen.
Know when to stop. If your dog hits a jump and yelps, stop immediately. Check them over. Don't try to "work through it." Limping, whining, or reluctance to jump means a vet visit, not another rep. The PDSA has good guidance on spotting pain and injury in active dogs.
Once your dog is confident with basic jumps and tunnels, look for a local agility club. The UK has clubs in most counties, and the Royal Kennel Club lists affiliated training groups. See our dog sports guide for other activities that complement agility and flyball.
Garden agility gives you a foundation. Club training gives you the technique, safety, and progression you need to compete. The two work together. Home practice between classes is where you build muscle memory. Classes are where a trainer corrects your mistakes before they become habits.
If you're already doing flyball, adding a bit of agility at home is one of the best cross-training decisions you can make. Your dog gets fitter. You get better handling skills. And you have another reason to be outside with the dog you got into sport for in the first place.