•Dalton Walsh
Learn a cleaner flyball box turn with swimmer's turn steps, setup checks, common fixes and safety notes for UK club training.
By Dalton Walsh

A flyball box turn is the 180-degree push off the box that sends your dog back down the lane after collecting the ball. A good turn means four feet on, head up for the ball, rear legs driving off, and a neat arc back down the lane.
For most dogs, a cleaner flyball box turn starts away from the full box: wall work, then props, then mini box, then full box. Add speed only when the dog can hit high, drive from the rear legs and leave in a smooth arc.
This swimmer's turn guide has been refreshed again for UK teams after Search Console showed impressions falling 53.6%, from 530 to 246 across the latest two 28-day windows. The biggest visible query loss was the exact long-tail search 'flyball box turn training swimmer turn steps', so this update puts the step order, box setup and fixes closer to the top.
Use it as a practical progression: wall work first, then props, mini box, full box, speed, and regular video checks.
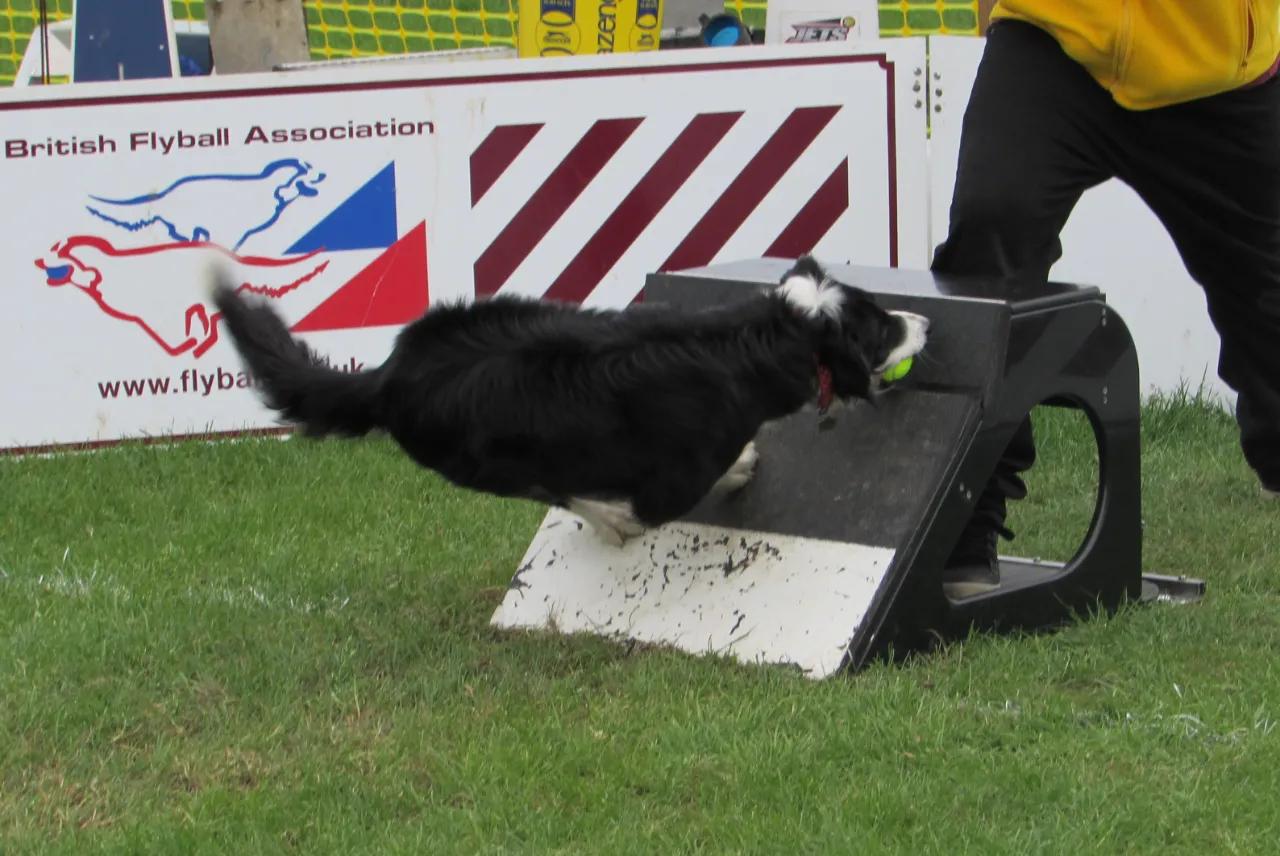
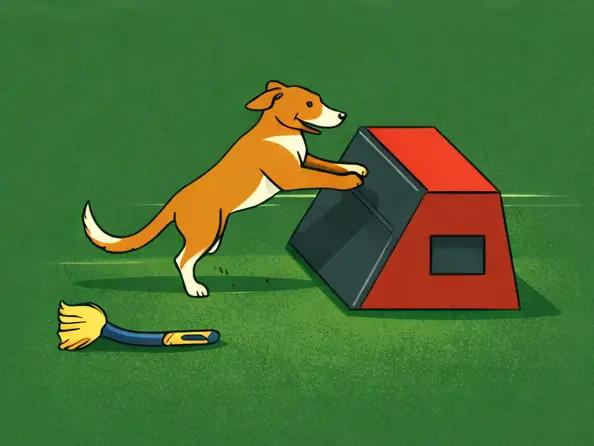
A flyball box is the spring-loaded box at the end of the flyball lane. UK flyball boxes are usually wood or composite, with a padded pedal that releases a tennis ball when the dog hits it. Every run ends with a 180-degree turn off the box, so box training is not a small detail. It shapes speed, confidence, and how much load your dog puts through their shoulders.
Before we get into training, you need to understand what you're aiming for.
A proper swimmer's turn looks like this:
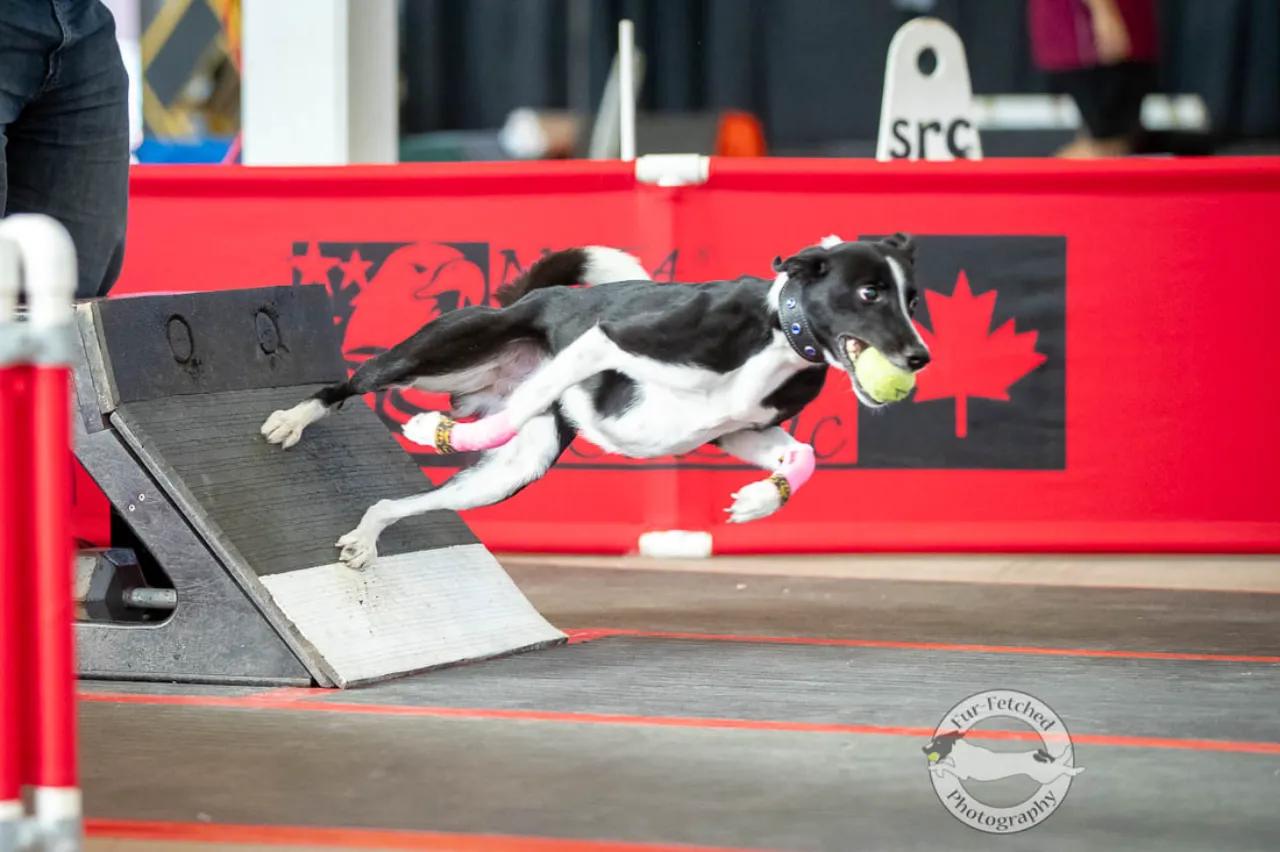
All four feet on the box. Not two feet, not three - all four. The dog should hit the box face with their front feet high, rear feet below, creating a diagonal angle across the padded surface.
The 45-degree approach. Dogs shouldn't run straight at the box. They approach at an angle (typically 45 degrees), hit the box, and push off at the opposite angle. This creates a fluid arc rather than a jarring direction change.
Rear leg drive. The power comes from the back legs pushing off the box. The rear feet should hit first (or simultaneously with the front), allowing the dog to load up and spring back. This is where the "swimmer's turn" name really fits - just like a swimmer pushing off the wall.
Ball catch at the top. The dog grabs the ball at the peak of their turn, when their head is at its highest point on the box. This timing means they're already rotating back as they catch it.
Smooth arc out. The exit should mirror the entry - a clean arc back towards the handler, not a messy scramble or a straight line that wastes energy on course correction.
When it all comes together, it's beautiful. The dog flows onto the box and flows off again, barely seeming to pause. The turn is quiet (no crashing or scrabbling sounds) and the dog maintains speed through the whole movement.

You might wonder why bother with all this technique. Can't dogs just figure it out?
They can, but what they figure out often isn't good.
The box turn puts a lot of force through the dog's body. A 2024 Scientific Reports paper tested British flyball dogs on 45, 60 and 83 degree box angles, and found that different angles changed the demands on the forelimbs, shoulders, hocks and stifles. The useful takeaway for club training: there is no magic box angle that fixes everything. Technique and consistency still matter.
A proper swimmer's turn spreads the work across all four limbs and asks the hindquarters to do the push-off. A head-on hit, a two-foot bounce, or a low slide across the pad puts more work through the shoulders and front end.
Hartpury research published in Comparative Exercise Physiology recorded the shoulder as the most common injury area in injured flyball dogs, 17 of 75 dogs, or 16.8%. It also found a link between turn direction and the injured shoulder side. That is why good coaches get picky about foot placement, not just speed.
A good turn is also a fast turn. Physics says changing direction takes energy. The swimmer's turn minimises energy loss by:
Dogs with proper technique gain a noticeable time advantage over dogs that crash into the box and scramble back. Over a tournament with many heats, those fractions of a second add up.
Work through the steps in order: wall work, prop shape, mini box, full box, then speed. The dog should understand the movement before you add distance, height or race pressure.
The foundation starts with a wall - literally.
Find a wall your dog can safely contact. Textured surfaces (brick, rough render) work better than smooth ones. Some trainers use a plywood board leaned against a wall, which can be adjusted to different angles.
The basic exercise:
At this stage, you're not looking for a perfect turn. You're teaching your dog that putting their feet on a vertical surface and pushing off is rewarding. Keep sessions short - 5 minutes is plenty.
What you're watching for:
Common issues:
Once wall work is solid, introduce props that shape the approach angle.
Cones or guides placed on the floor create a channel that forces an angled approach. Your dog can't run straight at the wall because the cones are in the way - they have to curve in.
Set up a gentle curve initially. Too sharp and they'll knock the cones; too straight and you're not achieving anything. You want them to naturally arc towards the wall.
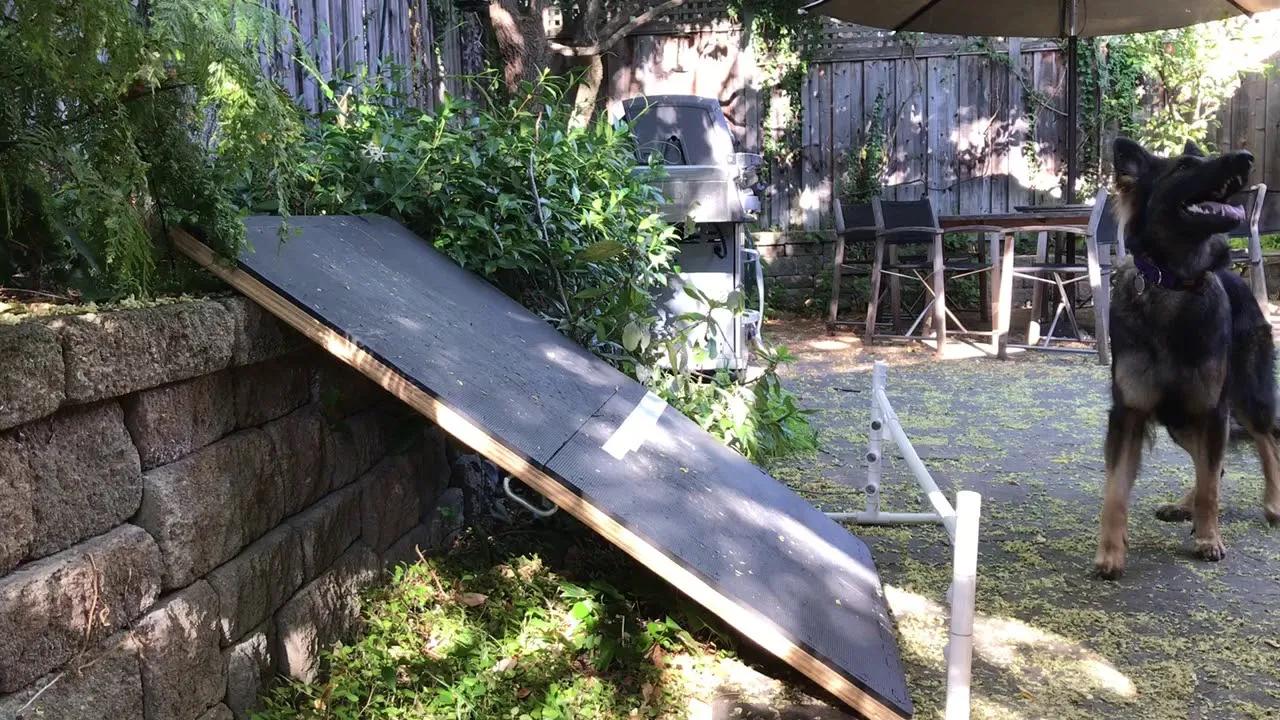
A ramp or "shoot" is the next addition. This is a sloped board leading up to the wall, typically at around 45 degrees. The ramp teaches dogs to drive upward onto the surface rather than crashing into it.
Start with the ramp at a gentle angle. Your dog learns to run up the ramp and turn off the wall. The ramp height gradually increases as they get comfortable.
Ball introduction: Now you can add a ball to the wall. Tape a tennis ball to the wall at the point you want them to catch it. This teaches them that the turn and the ball catch happen at the same time, at the same height.
Before the full box, many trainers use a mini or training box. This is a smaller version of a flyball box - same concept, but lower and less intimidating.
The mini box does the same job: spring-loaded pedal, ball release. But it lets you work at a comfortable height while your dog masters the mechanics.
Run the same approach pattern you've been training. The cones guide the angle. The dog hits the mini box, triggers the ball release, catches the ball, and pushes off.
Focus points:
Film your dog's turns. You'll see things in slow motion that you miss at full speed. Is the rear reaching the box? Are they sliding? Is the exit angle clean?
Now you move to a regulation flyball box.
Keep the approach guides in place initially. The jump from mini box to full box is mostly psychological for the dog - the technique is the same, just bigger.
Start with the dog closer to the box than they would be in a race. Short approaches let them focus on the turn mechanics without being at full sprint speed. As they get confident, gradually increase the distance.
Building speed: The final stage is adding speed. This is where some dogs fall apart - they nail the turn at a trot but crash at full sprint. The answer isn't to accept a messy fast turn; it's to build speed gradually enough that technique survives.
If the turn falls apart at speed, slow down again. Speed is the last thing you add, not the first thing you sacrifice.
Props aren't just for early training - they're useful throughout your dog's flyball career.
Cones, jump wings, or pool noodles placed along the approach path keep the entry angle consistent. Even experienced dogs can drift into a straighter approach over time, and guides correct this without you having to do anything.
Where the ball releases affects where the dog catches it. A ball that pops too low encourages the dog to drop their head early. A ball at the right height keeps their head up through the turn.
Most boxes allow adjustment of the ball position. Experiment to find the sweet spot for your dog.
If your dog's striding is inconsistent, causing them to chip or stutter before the box, stride regulators help. These are markers on the ground that encourage a consistent approach rhythm.
This is advanced stuff - don't worry about it until the basic turn is solid.
Box angle affects the turn, but it should not become the only thing you talk about. The 2024 box-angle study looked at 45, 60 and 83 degree boxes and found different joint demands at each angle. In club terms, start with the box your team uses, check the pad is grippy, make sure the pedal release is predictable, and watch whether your dog can get all four feet on without sliding. If a smaller dog cannot get the rear feet up, or a bigger dog looks cramped, talk to your coach before changing the setup.
Even with good training, problems develop. Here's what to look for and how to address it.
The problem: Dog runs straight at the box and crashes into it, rather than arcing on and off.
Why it happens: Usually an approach angle issue. The dog hasn't learned (or has unlearned) the curved approach.
The fix: Go back to props. Reintroduce the approach guides that force a curved entry. Start slower if needed. The straight approach has become the habit; you need to override it with repetitions of the correct approach.
The problem: Dog hits the box too low, feet sliding down the face rather than sticking.
Why it happens: Often an approach speed issue - too fast, not enough upward drive. Can also be a fitness issue (weak hindquarters can't drive upward effectively).
The fix: Slow down the approach. Make sure the dog is driving up onto the box, not skimming across it. Check fitness - are the rear muscles strong enough? Conditioning exercises that strengthen the hindquarters help here.
The problem: Only the front feet touch the box; rear feet never make contact.
Why it happens: The dog is essentially jumping at the box and bouncing off the front feet only. This puts all the turning force through the shoulders.
The fix: Wall work and prop work focusing specifically on rear engagement. Some trainers use a target on the lower part of the box to draw the rear feet down. Reward heavily when you see all four feet contact.
The problem: Sometimes great, sometimes terrible. The dog knows what to do but doesn't do it reliably.
Why it happens: Often excitement or environmental factors. Competition nerves, distractions, or just general chaos can disrupt muscle memory.
The fix: More repetitions in varied environments. Train at different locations, with different distractions. The technique needs to be so ingrained that it happens even when the dog is amped up.
The problem: Clean turn, but the dog misses or drops the ball.
Why it happens: Timing issue - the dog's focus on the turn means they're not tracking the ball properly.
The fix: Separate the skills temporarily. Practice stationary ball catches from the box (no approach). Then very slow approaches focusing on ball tracking. Rebuild speed gradually with ball catch as the priority.
The problem: Dog hesitates, slows down, or tries to avoid the box entirely.
Why it happens: Something hurt or scared them. A painful turn, a ball hitting their face, a box malfunction - any negative experience can create avoidance.
The fix: This needs patience. Go right back to basics with a mini box or prop setup. Rebuild confidence slowly. Don't push through avoidance - you'll make it worse. Make every box experience positive again.
A good box turn isn't something your dog thinks about - it's automatic. Building that automaticity takes repetition, but smart repetition.
Twenty perfect turns are worth more than a hundred sloppy ones. If your dog is tired, sore, or mentally checked out, stop. Practising bad technique just reinforces bad technique.
Film regularly. Your eye misses things. Slow-motion video shows exactly what's happening with foot placement, body angle, and timing.
The box turn is explosive and tiring. Give adequate rest between repetitions - 30-60 seconds minimum. Fatigue leads to sloppy turns.
Old advice, but it works. End each session on a successful turn. If they're struggling, make it easier rather than grinding on. The last repetition is what they'll remember.
Props are training wheels. Eventually, you take them off.
The test is consistency. If your dog nails the turn with props ten times in a row, try removing one element. Still consistent? Remove another. If the turn falls apart, the props go back.
Some dogs need occasional prop refreshers throughout their career. Others graduate from props and never look back. Both are fine - do what your dog needs.
The box turn is demanding. A few things to watch:
Don't start box work until growth plates are closed - typically 15-18 months, longer for large breeds. The forces involved can damage developing joints.
Train on appropriate surfaces. Grass or rubber matting is ideal. Slick floors or hard concrete increase injury risk.
Cold muscles don't absorb force well. A proper warm-up before any box work is non-negotiable.
Reluctance to turn, flinching, changes in technique - these can indicate pain. Don't push through them. Get a vet check if you're concerned.
The muscles used in box turns need recovery time. Don't do box work every day.
What are the swimmer's turn steps?
The usual steps are wall work, prop work, mini box, full box, then speed. Keep each stage short and clean. If the dog starts hitting head-on, dropping low, sliding or missing rear-foot drive, go back a step rather than drilling the mistake.
How long does it take to train a good box turn?
Months, not weeks. A truly solid swimmer's turn that holds up at race speed takes time to develop. Rushing produces dogs that look okay in training but fall apart in competition. Take the time to do it right.
My dog used to turn well but is getting sloppy - what happened?
Technique can drift over time, especially if most practice is at full speed without checking mechanics. Go back to props and slower approaches. Film and compare to earlier video. Often a small issue has crept in that's now become habit.
Does the turning direction matter?
Dogs should turn the direction that's natural for them - most teams don't force a particular turn side. What matters more is consistency. Changing turning direction regularly confuses muscle memory.
Can old dogs learn new turns?
Yes, but it's harder. An established dog with a poor turn has potentially years of muscle memory to override. It's possible with patience, but expect it to take longer than teaching a new dog from scratch.
How do I know if my dog's turn is "good enough"?
Film it and show your coach or an experienced trainer. What feels fine to you might have obvious issues to an experienced eye. A good turn is quiet, smooth, with all four feet contacting the box and a clean exit angle.
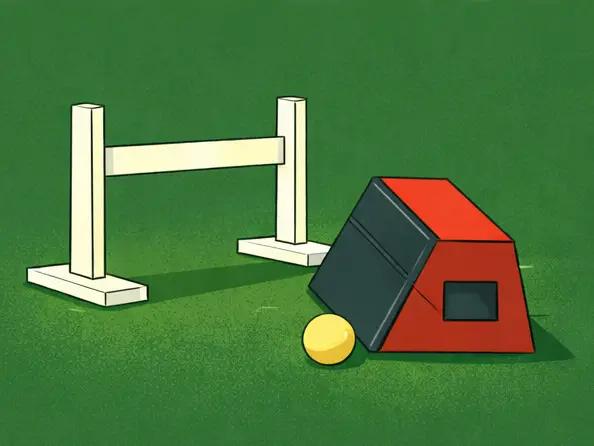
Do I need a special flyball box to train the swimmer's turn?
Any competition-standard flyball box will work for training the swimmer's turn. What matters is the technique, not the brand. Mini boxes and wall props are useful stepping stones when you're building muscle memory. The box should have a reliable pedal release and a stable base so your dog can predict how it behaves every time. If the box is wobbly or inconsistent, your dog will hesitate, and hesitation ruins turns. Start with whatever box your club has, and focus on foot placement and rear-leg drive before worrying about equipment upgrades.
Box turns drift when nobody writes down what changed. Keep a simple note for each dog: setup used, approach distance, props, box side, ball position, what broke, and what looked better on video. That gives your captain something useful to review before the next session instead of relying on memory.
If your team already uses Flyball Hub, log box-turn work in your training notes and connect it to dog PBs and session plans. The same pattern that helps with race times helps here too: small notes, reviewed often, beat guesswork.
Useful next reads before you train the box: how the flyball box mechanism works for box safety, dogs and training basics for foundation work, and building ball drive if the ball grab is the weak point.
The swimmer's turn is the foundation of safe, fast flyball. It takes time to train properly - wall work, props, mini box, full box - but that investment pays off in a dog that can compete for years without the shoulder injuries that plague poor turners.
Start slow. Build the muscle memory before you build the speed. Film your progress. And remember that a beautiful turn at 80% speed beats a messy crash at 100%.
Your dog's joints will thank you.